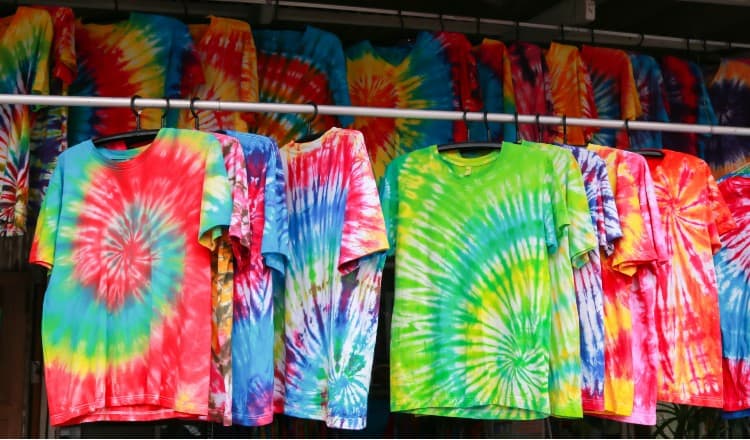
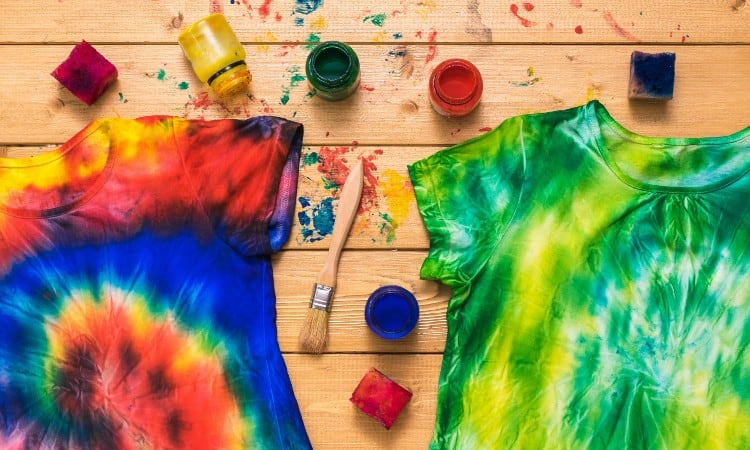
Nothing dresses up a boring white shirt like a fun tie-dye design! From retro 60s spiral to sober Japanese shibori patterns, tie-dye adds bold color to your life in any style you choose. You can learn to tie-dye shirts in just a few simple steps!
The best way to tie-dye a shirt for beginners is to use a tie-dye kit containing fiber-reactive dyes. More advanced methods include using bleach or ice cubes to create a unique tie-dye style. Folding or twisting the shirt before dyeing will create unique dye patterns such as a spiral, heart, or ripple.
In this article, you will learn how tie-dye works. You will discover seven methods for tie-dyeing a shirt. Finally, you will find out how to get the best tie-dye kit to help you get started!
Quick Navigation
What is Tie-Dye?
Tie-dye is a method of dyeing fabric with folds, twists, or bindings that prevent the dye from touching certain parts of the material. This creates unique patterns in the dye. Unlike traditional dyeing, in which the goal is to achieve regularity of color over the surface of the whole garment, tie-dye celebrates every variation in color throughout the design.
Believe it or not, the idea of tie-dye dates way back to ancient civilizations. Archeologists have found tie-dyed clothing as far back as the 5th dynasty in China and ancient Peru before 800 AD. The art form of Japanese Shibori dye dates back to the 8rh century.
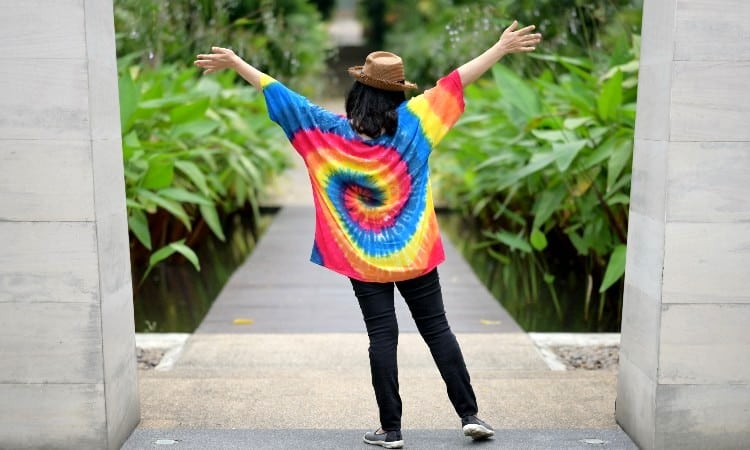
The vivid neon-hued starbursts and spirals that you associate with modern tie-dye became popular much more recently, in the 1960s. You could argue that the vibrant colors have their roots in the hippie movement of the 60s. But there’s pretty good evidence that the widespread popularity of these bold designs took root because of rock stars like Janice Joplin wearing tie-dye!
Today, the easy accessibility of at-home dyeing kits helps maintain the widespread appeal of this colorful style.
What Do You Need to Tie-Dye a Shirt?

The most important items you need to tie-dye a shirt are a cotton shirt and fiber reactive dyes. Depending on the kind of dyeing you want to do, you may also want ice cubes, bleach, and a few other supplies.
For the most basic tie-dye, you want to start with a cotton shirt. You can use a t-shirt, a long-sleeved t-shirt, or any other kind of shirt that contains at least 60% cotton fibers. Check the label inside the shirt (usually located at the center back of the collar) to find out the fabric composition.
Why do you need a cotton shirt? The cellulose fibers in cotton can easily absorb many types of dyes, including the fiber reactive dyes found in most tie-dye kits. The synthetic fibers in a fabric like polyester have a much harder time reacting with dyes.
You can tie-dye polyester, but you need a more complex dyeing method for that project.
Next, you need fiber-reactive dyes. Most tie-dye kits today use this type of dye. It creates bold, color-fast designs that won’t come out during the first wash. You can also use less permanent methods of dyeing, such as using a universal dye or food coloring, but these designs will not last through more than a couple of washes.
Finally, it helps to have a few other supplies on hand as well:
- A clean sink or large bucket
- Rubber gloves and protective clothing like a smock or apron
- Plastic sheeting or a dollar store tablecloth to protect the floor
- Large rubber bands or a spool of twine
- Five-gallon Ziploc bags
- Condiment squeeze bottles (you can find these at the dollar store as well!)
How to Tie-Dye Shirts: 7 Methods
Though you can tie-dye shirts in an infinite number of patterns, the basic method you use to apply the dye remains the same. Here you can find the simplest method possible if you’re new to tie-dye or more advanced methods like using bleach or ice if you have already mastered the basics.
1. Step-By-Step for Beginners
The best way to tie-dye for beginners is to use a tie-dye kit. You can find these quite cheaply online or at most craft stores. Brands like Tulip and Dharma use fiber-reactive dyes in their kits–just read the product description to make sure you get the right kind of dye!
The kit will come with instructions, but you can also follow these basic steps for your first tie-dye project:
- Start by washing your white shirt. This will remove something called sizing from new clothes. It will also strip away any built-up fabric softeners from older clothes. Use nothing but laundry detergent in this wash.
- While the washing machine runs, set up your workspace, and cover the floor or table with protective plastic. You can sue large trashbags tape together or cheap plastic tablecloths from the dollar store.
- Put on your protective gear as well. If possible, wear rubber gloves to avoid accidentally dyeing your hands.
- Mix up the dye colors you want according to the instructions in the kit. Usually, the dyes come as a powder. You mix them with water in the squeeze bottles that come with the kit. You can measure the powder according to the instructions on the kit or use more or less powder to create lighter or darker shades of the color.
- Make sure you seal the bottle caps onto the squeeze bottle thoroughly.
- Take the damp shirt out of the washing machine after the cycle ends.
- At this point, you will want to fold or twist the shirt into the pattern of your choice. You can find examples later in this article in the section titled “tie-dye patterns.”
- Use the squeeze bottles to apply dye to the shirt. You can use more than one color if you want, but make sure the colors do not touch each other. Also, you do not want to completely soak the fabric in the dye, as leaving white space here and there will add to the tie-dye effect.
- Place the dyed shirt inside a large resealable bag. You can also wrap it well in plastic wrap.
- Let the dye rest for 8 hours.
- Take the shirt out of the bag or plastic in your sink. Snip away the rubber bands.
- Rinse the shirt under warm water and then cool water until you do not see any dye running down the drain.
- Finally, wash the shirt by itself in your washer, using nothing but normal laundry detergent. Then run it through the dyer, and you have a finished tie-dyed shirt!
2. With Ice
Tie-dyeing with ice takes a little longer, but it creates lovely watercolor-like designs melted into the shirt.
- Start by washing the shirt in the washing machine using only laundry detergent.
- Set up a large bin or tray with a metal baking rack in the bottom.
- Next, tape together a piece of cardboard that fits around the edge of the rack. This will hold the ice cubes in place.
- Place the damp shirt on top of the rack. Use both hands to scrunch it up so that the whole garment has a crumpled look and fits neatly inside your cardboard edging.
- Alternatively, later, you can use any folding or twisting patterns in the “tie-dye patterns” section. If you bind your shirt in a smaller shape, make a cardboard edging that fits around the shirt instead of around the metal rack.
- Apply a thick layer of ice cubes to the top of the shirt. For the most varied pattern, you can smash up some of the cubes so that they will melt at different rates.
- For this method, you will want to use dry dye powder. You can pour it into a squeeze button or just sprinkle it directly from the packet onto the ice. For multiple colors, sprinkle the colors on separate sections of the ice so that they do not bleed into each other.
- Wait until the ice melts completely. This usually takes at least an hour.
- Take the shirt out of the cardboard and package it up inside either a large Ziploc or in plastic wrap.
- Let it rest for twenty-four hours.
- Rinse the shirt in your sink until you do not see dye dripping off it.
- Finally, wash and dry the shirt by itself to finish setting the dye.
3. With Bleach
The cool thing about using bleach to make tie-dye patterns is that you use this method on black or dark-colored cotton shirts. Usually, you have to tie-dye on white fabric to make the colors show up. But when you use bleach, you’re removing color from a dark material instead!
Whenever you work with bleach, you want to make sure you have good ventilation. Work outside if possible, or open a window or run an exhaust fan in your workspace. You will also want to wear gloves and eye protection during this process.
- To prepare your black shirt, run it through the washer using nothing but detergent.
- Fold, twist, or tie your shirt into the pattern of your choice.
- In a clean plastic bucket, mix four cups of water with four cups of chlorine bleach.
- Wearing gloves, carefully place the shirt in the bucket.
- Let it soak for ten minutes.
- Immediately rinse the shirt under running water.
- Fill another bucket with enough hydrogen peroxide to submerge the shirt, and let it sit in the bucket for another ten minutes.
- Rinse again and then wash the shirt by itself using nothing but detergent.
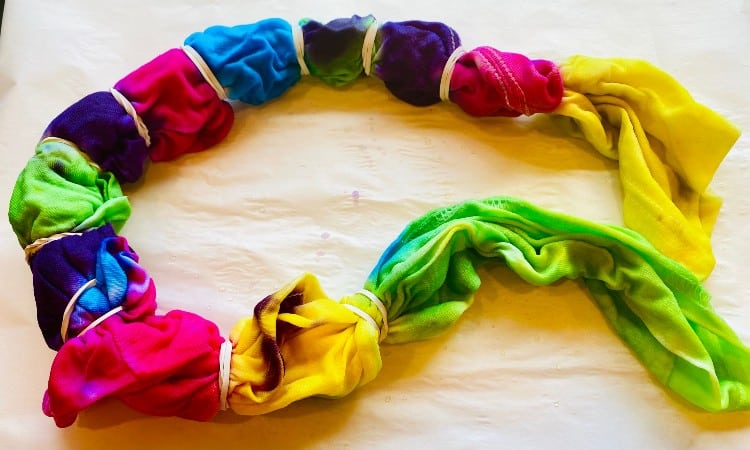
4. With Rubber Bands
One of the easiest ways to make unique designs in a tie-dye shirt is to use rubber bands.
Check out these hand rubber band tips:
- For whole-shirt designs, use several giant rubber bands crisscrossing each other to hold your twists or folds in place.
- For smaller designs, use smaller rubber bands to hold the pinched or pleated fabric in place during the dyeing process.
- You can use rubber bands with dye, bleach, or ice.
- Most of the time, you will want to carefully snip through the rubber bands with scissors to remove them without damaging your design.
5. With Food Coloring
Tie-dyeing with food coloring is a fun and safe technique you can use with kids. Keep in mind, though, that food coloring will not remain color-safe and will fade pretty quickly as you wash the shirt.
The food coloring will last much longer if you apply it to protein fibers like wool or silk, though!
- Start by washing your white shirt in the washing machine using your regular laundry detergent.
- Set up a clean bucket filled with an equal amount of distilled vinegar and cold water.
- Submerge the shirt in this mixture and let it soak for an hour.
- Wring out the wet shirt and prepare it for your design. Check out the section later in this article called “Ttie Dye Patterns” to help with this!
- Put the folded or twisted shirt back into a clean, empty bucket.
- For the dye, measure half a cup of water into a condiment squeeze bottle. Add 8 drops of food coloring and shake well. You can make up multiple squeeze bottles and use up to three colors at a time if you prefer.
- Apply the dye, leaving some white space between the squirts of color.
- Turn over the shirt and repeat the dyeing process on the reverse side.
- Seal up the shirt inside a large plastic bag and let it rest for eight hours. Ideally, leave the bag outside in the sun during the resting period.
- Undo any rubber bands or bindings and rinse the shirt in a clean bucket filled with 1 cup of water and one cup of table salt.
- Next, rinse the shirt in a sink under cool running water.
- Wring out as much water as possible and then run the shirt through the dryer.
6. With Tie-dye Paint
You can make tie-dye paint from pretty much any fabric paint. You will want to thin the paint with water before applying it. Even after you thin the paint, it will leave a slightly stiff feeling on the surface of the fabric, unlike dye.
- One of the great things about using fabric paint in tie-dye is that you can select from many colors or even use metallic or glitter paints. Brands like Tulip, Jacquard, and Dharma sell a vast selection of fabric paint colors.
- You can also use acrylic craft paint thinned with water. You can find a big shelf of these in every shade imaginable at most craft stores.
- You can use paint and water in a squeeze bottle or thinned paint in a spray bottle to apply the “dye” to your shirt.
- After the paint dries, iron the shirt to set the color into the fabric.
7. Pastel Tie-Dye
You can create a pastel tie-dye hue on your shirt in three different ways.
First, buy a pastel tie-dye set or pastel shades of fabric paint thinned with water. This is the more expensive approach, but it does make things simple.
Second, you can use a regular tie-dye kit, fiber-reactive dyes, or even food coloring. But to get a pastel shade, add only half as much dye as you would normally.
Finally, you can shorten or skip the resting period. Rinsing the dyed shirt right away will take out a lot more color and leave you with paler shades of tie-dye.
How Long Does It Take To Tie Dye a Shirt?
It usually takes at least 8 hours to tie-dye a shirt because you need to allow the dye to rest before you rinse it.
Even if you dye the shirt and then rinse it right away to get a pastel look, it will probably take you two to four hours to get through the folding and dyeing part of the process.
Tie-Dye Patterns
You can create an unlimited number of tie-dye patterns, the only limit is your imagination!
 That said, you may find it helpful to follow a few simple steps to create these tried-and-true designs.
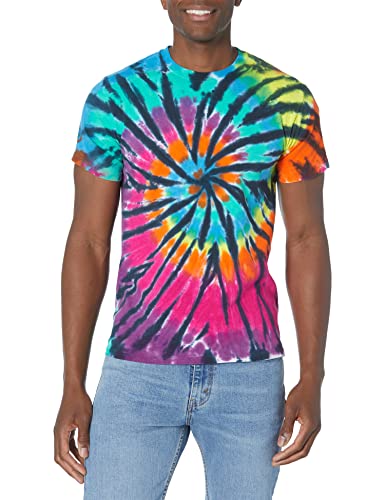
For a classic spiral, you make the whole shirt look like a cinnamon roll.
- Start with a prewashed, damp shirt for best results.
- Pick the part of the shirt that you want to make the center of your spiral. Usually, this is the center front.
- Pinch two inches of the shirt between your fingers at this point. Hold onto that chunk of the shirt.
- Now twist and wrap the rest of the shirt around the center point, forming a snail-shell shape around that center starting pinch. Keep wrapping until you run out of shirt.
- Use large rubber bands crisscrossed over the snail shell shape to hold your twists.
- Finally, use the dye method of your choice to color in the design!
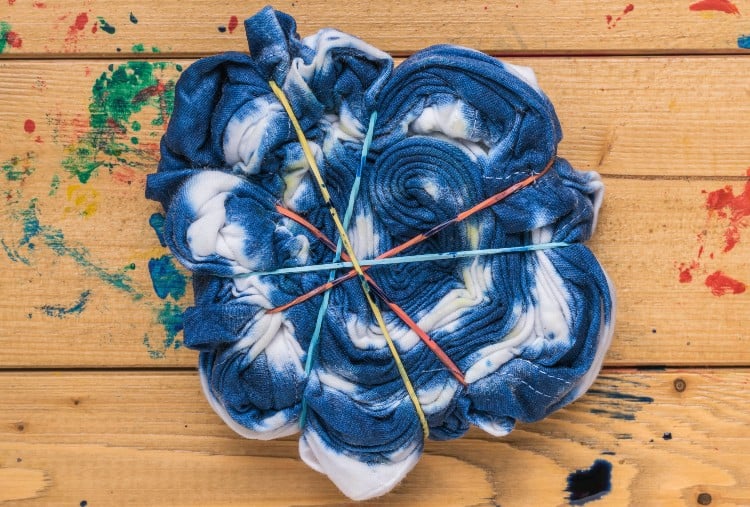
For the absolute easiest tie-dye pattern ever, use the crumple method:
- You can start with a damp or dry shirt for this method.
- Spread out the shirt on a plastic-covered work area.
- Use both hands to take fistfuls of the fabric and squeeze it inside your grip.
- Keep crumpling up handfuls of the shirt until the whole shirt looks like a piece of crumpled-up paper.
- You can place the crumpled shirt on top of a rack before applying the dye or bind the crumples in place by crossing eight large rubber bands over the shirt to hold it in its shape.
- Finally, go on to the dyeing method you like best.
Advanced Tie-Dye Patterns
 If you want a more intricate and challenging tie-dye pattern, try the ripple or heart design.
To make a ripple pattern:
- Spread out the shirt on a flat workspace like a table.
- Place a drinking glass halfway on and halfway off the side seam, halfway between the armpit and the hem.
- Use chalk or a washable fabric marker to trace the glass, forming a half-circle on the shirt.
- Measure three inches out from the half-circle and draw another, larger half circle on the side of the shirt. Add two more half circles every three inches out from the previous semicircle.
- Start at the smallest half circle and form pleats up and around the circle. Use a small rubber band to hold this pleated section together. The pleats need to be small but do not all have to be the same size–it’s more about getting a lot of folds into each half circle.
- Repeat this process with the next half-circle, pleating around the rounded edge of the circle.
- Keep going until you have peated and rubber-banded all of your half circles.
- You will still have some of the shirt left over. Roughly pleat this and add rubber bands at every three-inch interval.
- Now you will work in the other direction, from your original starting point and pleating up vertically. You may need to scrunch instead of pleating at this point until you have a roughly rectangular shape.
- Use large rubber bands vertically to hold the rectangle together.
- When you apply the dye, add stripes in between the vertical rubber bands.
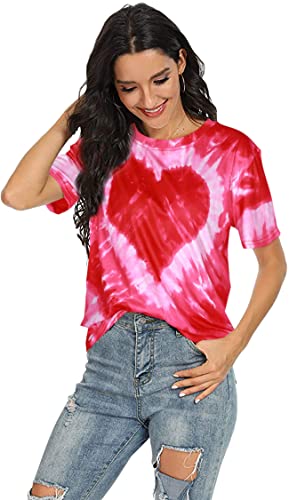 To make a heart pattern:
- For the best results, start with a freshly washed, damp shirt.
- Spread out the shirt on a flat, covered workspace. Fold it in half vertically (long-ways).
- Use a washable fabric mark to sketch the outline of half a heart on the folded edge at the center of the shirt.
- Start at the bottom tip of the heart and pleat all the way up the marker line outline, using small, tightly held folds.
- Rubber band the shirt at the pleated market line to hold it in place. Add additional rubber bands every three or four inches down the remainder of the shirt, though you can scrunch this instead of pleating it.
- Apply different colors of dye between each rubber band.
Do You Tie-Dye a Shirt Wet or Dry?
You can tie-dye a shirt, either wet or dry, depending on the kind of design you want to create. Most of the time, fiber-reactive dyes like the kind you find in kits will work best on a wet shirt. The water allows the dye to easily spread through the fabric.
On the other hand, you can create more sharply defined patterns if you place dye on a dry shirt. You may want to try this if you plan to make a striped shirt.
To tie-dye on a dry shirt, simply wash and then dry your shirt before starting the tie-dye process. You can still fold, twist, or tie your shirt into the desired pattern.
Do You Wash Tie-Dye in Hot or Cold Water?
Set your washing machine to a short hot-wash cycle for newly dyed tie-dye shirts. Make sure you put the shirt in by itself so that you do not accidentally dye your other clothes with tie-dye colors!
Hot water will help the dye set. So will placing the shirt in the dryer after washing it for the first time.
Best Tie-Dye Kit
The best tie-dye kits use fiber-reactive dyes that will remain colorfast in cotton fabric. Brands like Tulip, Dharma, and Jacquard sell this kind of dye.
Tulip One-Step Tie-Dye Party Kit
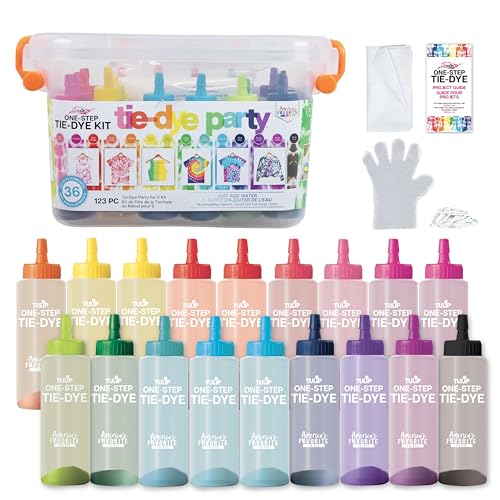 Tulip One-Step comes in a storage tote. You get eighteen colors with the dye powder already inside the squeeze bottles. All you have to do is add water right before you begin dyeing!
This kit also includes instructions for several simple tie-dye patterns with easy-to-follow pictures. With a wide selection of colors, simple instructions, and prepped squeeze bottles, this kit offers the best possible setup for a group of people to tie-dye together.
S.E.I. Neon Tie-Dye Kit
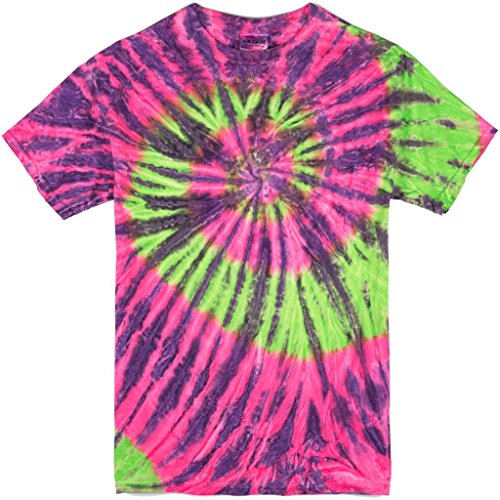
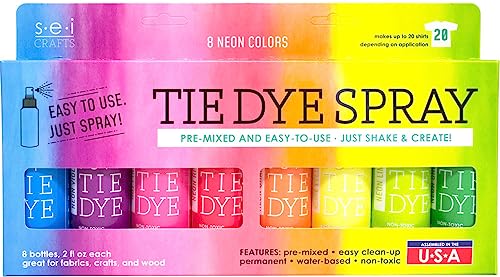 If you’re looking for a more psychedelic tie-dye style, try this bold neon kit from S.E.I. The kit offers a rainbow of eight neon sprays, each in a premixed spray bottle. You can make up to twenty shirts from the colors in the kit.
You will need to heat-set the design after using this kit, either by placing the shirt in the dryer, using a heat press, or ironing it thoroughly. This way, your eye-catching neon design will remain vibrant through many washes!
Conclusion
The easiest tie-dye method for beginners is to use a kit that comes with fiber-reactive dyes. For more advanced methods, you can try using bleach to create a reverse tie-dye effect on dark shirts. You can also use ice cubes and dry dye powder for a watercolor effect or paler dyes or shorter resting times to make pastel shades.
To create a unique tie-dye pattern, you can fold, twist, or tie the shirt into a special shape. Popular beginner patterns include spirals and crumples. Popular advanced designs include the intricate ripple design and the elegant heart shape.